 Bellingham Exterior
 Building New in Happy Valley Means Getting the Windows Right the First Time
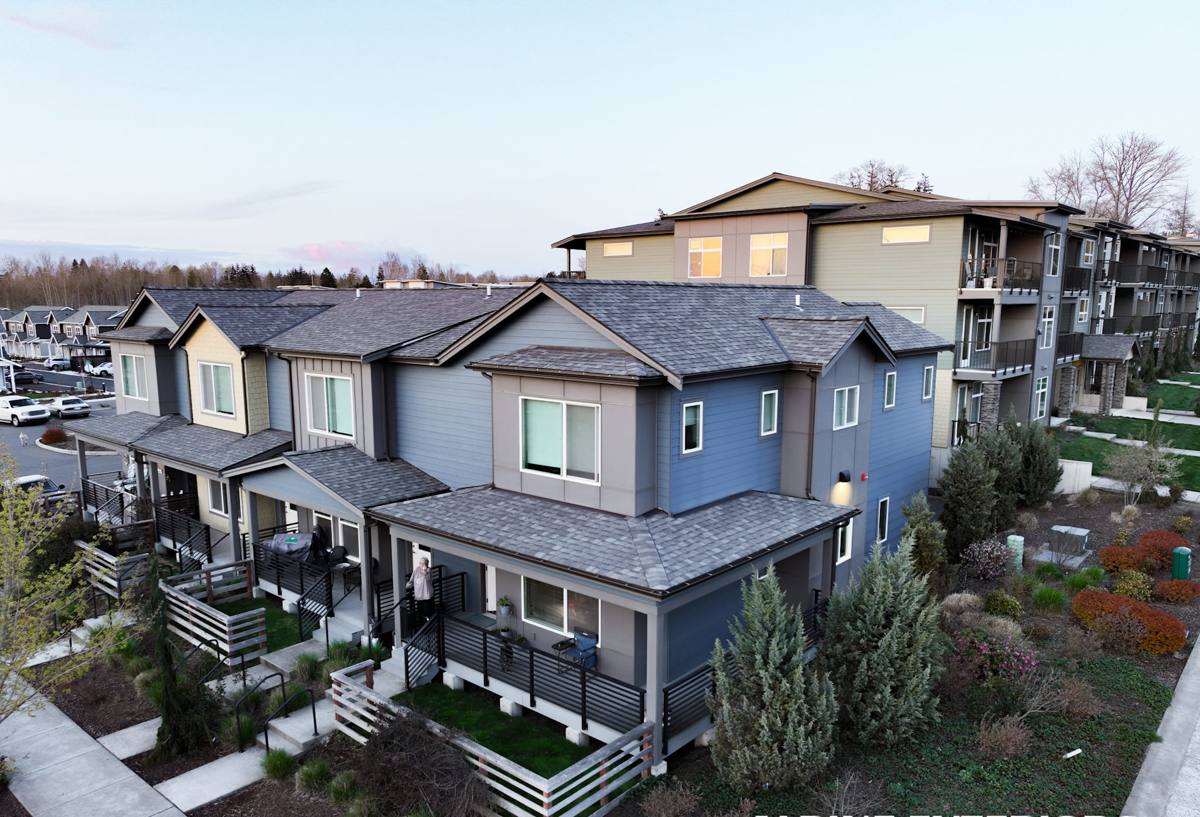
Happy Valley is one of Bellingham's older, established neighborhoods, and like a lot of the city's hillside areas it's seeing a steady mix of new builds, additions, and accessory dwelling units go in alongside the existing housing stock. When a home is framed from scratch, or a new wing is added to an older one, the windows go in before the siding, before the trim, and often before the homeowner has even picked a paint color. That's the whole point of "new-construction" windows — they're installed as part of the building envelope itself, not dropped into an existing opening after the fact.
That timing is exactly why the install has to be right the first time. Once siding and trim go over the window flanges, the flashing details underneath are sealed away for the life of the house. A mistake at this stage doesn't show up as a leak next week — it shows up as rot in a wall cavity five or ten years down the road, usually somewhere nobody's looking. For a Bellingham lot that sees real rain volume and long stretches of damp weather, that margin for error is thinner than it looks on a sunny install day.
New-Construction Windows vs. Replacement Windows — Why the Distinction Matters
These are two different products doing two different jobs, and mixing them up is one of the more common mistakes we see on job sites. A true new-construction window has a nailing flange (also called a nail fin) around the perimeter of the frame. That flange gets fastened directly to the sheathing and integrated into the weather-resistive barrier (WRB) — the house wrap — as part of the wall assembly. It's designed to be installed before the siding goes on, with flashing layered over and under the flange in a specific shingle-lap sequence so water always drains outward and downward.
A replacement or "insert" window, by contrast, has no nailing flange. It's built to fit inside an existing, already-flashed opening in a home that's already sided — the old sash and frame come out, the new unit goes in, and the existing exterior trim stays put. Using an insert window in new framing, or a flanged unit in a remodel retrofit, creates flashing and drainage problems that are hard to fix after the wall is closed up. On a Happy Valley new build or addition, the job calls for true new-construction units integrated properly into the WRB — not a shortcut borrowed from remodel work.
What Happy Valley's Climate Actually Demands From a Window Install
Salt Air and Metal Components
Bellingham sits close enough to the bay that salt-laden air is part of daily life on the north side of Whatcom County, and it doesn't stay down at the waterline — wind carries it up into the hillside neighborhoods too. Salt air accelerates corrosion on unprotected fasteners, cheap hardware, and lower-grade aluminum components. It doesn't mean every window needs marine-grade everything, but it does mean we pay attention to fastener coatings, hardware finishes, and cladding materials that hold up under slow, steady exposure rather than components rated for a drier inland climate.
Driving, Wind-Driven Rain
Rain here rarely just falls straight down. Storms off the Sound and the Strait push rain sideways against west- and south-facing walls, which means water is actively being driven into every seam, joint, and flange edge on a new window opening — not just sitting on the sill. That's the scenario new-construction flashing details are built to handle, but only if the sequencing is done correctly. A sill pan that's slightly out of level, or a piece of flashing tape lapped the wrong direction, might never show a problem in light rain and fail the first time a real Pacific storm hits the wall sideways.
A Long Moss and Algae Season
Whatcom County's wet season runs long, and anywhere moisture sits without drying out, moss and algae will eventually take hold — including on horizontal window sills, trim ledges, and anywhere debris can collect against the frame. That growth holds moisture against the material and can mask early signs of a failing seal or trapped water behind trim. Correct sill slope, drip caps, and drainage gaps aren't cosmetic details; they're what keeps water moving off the window instead of sitting there long enough to grow something.
The Anatomy of a Correct New-Construction Window Install
There's a specific order of operations behind a window opening that actually performs, and skipping or reordering a step is where most failures start. In general terms, a proper install follows this sequence:
- Rough opening is checked for square, level, and correct dimensions before the window ever shows up on site.
- A sill pan is formed or installed at the base of the opening, sloped slightly to the exterior so any water that gets past the window has somewhere to go.
- The WRB (house wrap) is cut and folded into the opening ahead of the window, not after, so the drainage plane is continuous.
- The window is set into the opening, shimmed plumb and level, and fastened through the nailing flange per the manufacturer's schedule.
- Flashing tape is applied at the jambs first, then the head, each layer overlapping the one below it — never the reverse — so water always sheds downward and outward.
- Backer rod and a compatible exterior sealant are installed at the trim-to-window joint, sized and tooled correctly rather than just caulked over a gap.
- Interior sealing and insulation around the frame are completed to control both air leakage and condensation risk before drywall closes up the opening.
Every one of those steps is invisible once the siding goes on. That's exactly why we treat this stage as the one that determines whether a window performs for twenty years or becomes a hidden problem behind the wall.
Choosing Frame Material for a Happy Valley Build
Frame material affects cost, maintenance, and how the window handles our wet climate over time. There's no single right answer for every project — it depends on budget, the style of the home, and how much upkeep an owner wants to take on.
| Frame Material | Typical Cost Tier | Moisture & Maintenance Notes |
|---|---|---|
| Vinyl | Lower to mid | Won't rot or corrode; good value; limited color and profile options; performs well in wet climates with minimal upkeep |
| Fiberglass | Mid to upper | Very stable in wet, temperature-swinging conditions; low maintenance; higher upfront cost than vinyl |
| Wood, clad exterior | Upper | Interior warmth of real wood with a protective exterior cladding; cladding must be detailed carefully at joints or moisture can find its way behind it |
| Aluminum | Mid to upper | Strong and slim sightlines; needs a thermal break for our climate and a quality finish to resist salt-air corrosion over time |
For new construction specifically, we also factor in glazing package — the glass and gas-fill spec matters as much as the frame material for how the window performs in a Bellingham winter and how much condensation risk it carries.
Our Process for Happy Valley New Builds and Additions
Whether we're working directly with a homeowner or alongside a general contractor on a new build, the process is the same: we get involved early enough to matter, not just when there's a hole in the wall waiting.
- Plan review — we look at the window schedule and rough opening sizes before framing locks them in, catching sizing or product mismatches early.
- Product selection — we walk through frame material, glazing, and performance ratings suited to the home's exposure and the owner's budget.
- Coordinated install timing — windows go in at the right point in the build sequence, after sheathing and WRB, before siding closes the wall.
- Flashing and sealing done to the sequence outlined above, on every opening, not just the ones that are easy to reach.
- Final walkthrough — we check operation, seals, and trim fit before we consider the job done.
Why a Local Bellingham Crew Matters for This Kind of Work
New-construction window work depends on getting a lot of small, sequential details right in conditions that change fast. A crew that works Whatcom County regularly knows what a typical Bellingham storm does to a west-facing wall, knows the kind of moisture load hillside lots like Happy Valley deal with over a wet season, and has already worked through the local permitting and inspection process enough times to keep a project moving instead of stalling on paperwork. That local familiarity also means we're not guessing at lead times for materials or scheduling around weather windows that are unique to this part of the state — we're planning around them because we do it every season.
It also means accountability doesn't end when the crew packs up. If a question comes up two or five years later about how an opening was flashed, we're still the same local business that did the work, not a crew that came through once and moved on.
A Practical Checklist Before Windows Go In
For homeowners or builders managing a Happy Valley project, these are worth confirming before installation day:
- Rough openings match the confirmed window schedule, not just the original plan set
- Sill pan flashing is specified and included in the install scope, not treated as optional
- WRB (house wrap) is on and properly lapped before window install begins
- Frame material and glazing package are appropriate for a marine, high-rainfall climate
- Fastener and hardware finishes are suited to salt-air exposure
- A clear sequence exists for flashing tape overlap — jambs, then head, shedding outward
- Exterior trim and sealant work is scheduled after flashing is fully inspected, not before
If you're planning new-construction windows for a build or addition in Happy Valley, we're happy to walk the plans or the site with you and give you a straightforward, no-pressure estimate — just fill out the form below to get started.