 Bellingham Exterior
 New-Construction Windows in Sunnyland: What the Job Actually Involves
New-construction window installation is a different trade than window replacement, even though both end with glass in a wall. In Sunnyland, we see this work mostly on additions, ADUs, garage conversions, and full rebuilds where a framed opening exists with no window in it yet — bare studs, sheathing, and a rough opening waiting for a window with a nailing fin. The window gets fastened directly to the wall structure and integrated with the weather-resistive barrier before siding ever goes on. There's no old frame to work around and no finished interior trim to protect. But there's also no second chance once the siding closes it up — whatever gets done at this stage is what the wall lives with for decades.
That's the core difference homeowners in Sunnyland should understand going in: a new-construction window install is really a wall-assembly job that happens to include a window, not a window job that happens to touch the wall.
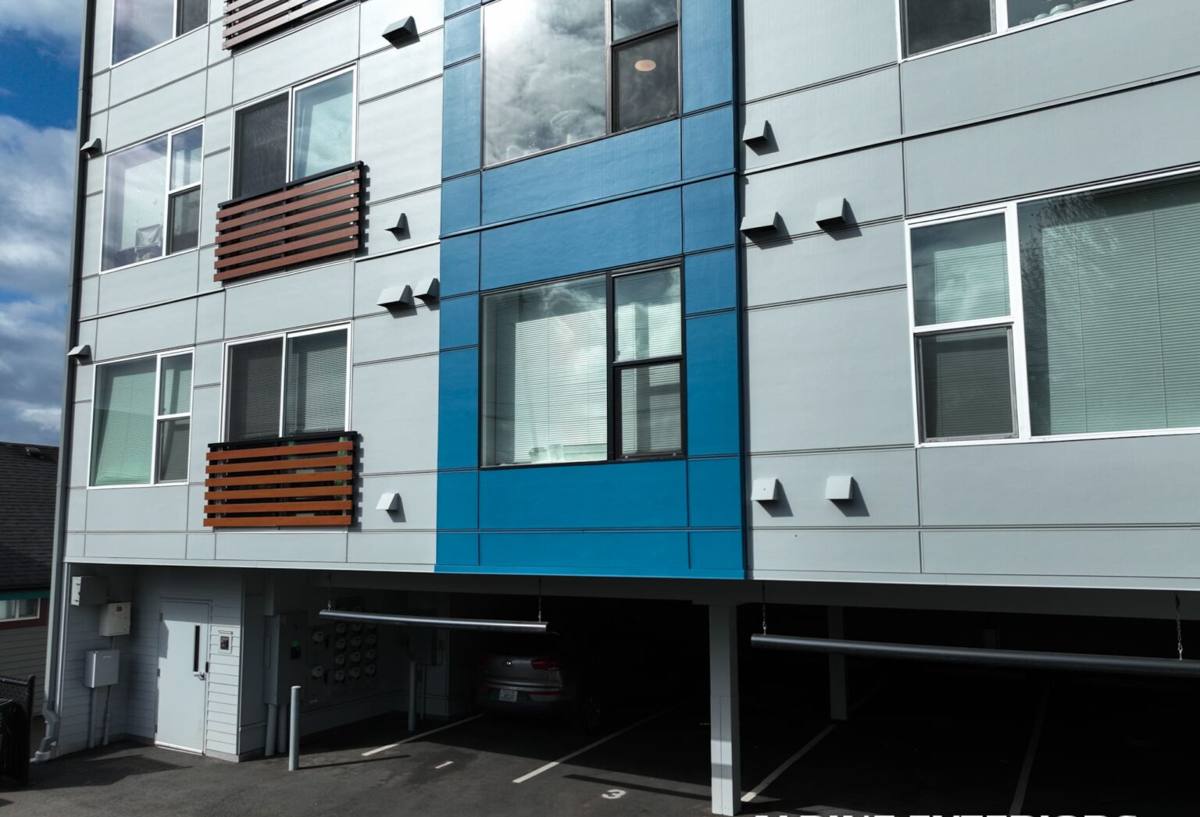
Why Bellingham's Marine Climate Changes How This Job Gets Done
Whatcom County sits in a marine climate with a long wet season, and Sunnyland's proximity to Bellingham Bay adds a layer most inland job sites don't deal with. Three conditions shape how we detail every new-construction opening here:
- Salt air off the bay accelerates corrosion on the wrong fasteners, flashing metals, and hardware — details that get buried behind siding and can't be swapped out later if they were the wrong choice.
- Driving, wind-driven rain is a Pacific Northwest storm pattern, not an occasional event. Rain here doesn't just fall — it gets pushed sideways into wall assemblies during winter storms, which means flashing has to actively shed water outward, not just cover the gap.
- A long moss and damp season keeps exterior surfaces wet for extended stretches. A flashing lap that's slightly out of sequence, or a sealant joint in the wrong place, doesn't dry out quickly here the way it might in a drier climate — it stays damp against wood framing for months at a time.
None of these are dramatic on install day. They show up two, five, or ten years later as soft sheathing, stained interior drywall, or a musty smell near a window that was never actually leaking through the glass — it was leaking through a flashing detail that was installed wrong the first time.
The Anatomy of a Correct New-Construction Install
Sill Pan Flashing First
Before the window ever sits in the opening, the rough sill gets a sloped, back-dammed pan flashing so any water that gets past the window — condensation, wind-driven rain, whatever — drains back outside instead of pooling on bare wood. This is the single most skipped step on rushed jobs, and it's the one that matters most in a climate that stays wet as long as ours does.
Housewrap and Shingle-Lap Sequencing
The window's nailing fin has to integrate with the housewrap in shingle fashion — each layer lapping over the one below it — so water always sheds down and over the next course, never behind it. Get the sequence backward at the head flashing and you've built a funnel that channels rainwater straight into the wall cavity every time it storms, which in Whatcom County is often.
Fin Nailing, Shimming, and Sealant Placement
The window gets shimmed square, plumb, and level before fastening — an out-of-square window stresses the frame, binds hardware, and opens gaps at the corners over time. Fasteners follow the manufacturer's nailing pattern and spacing, not a "few nails and move on" approach. And sealant goes only where it belongs: a full unbroken bead around the entire perimeter can actually trap water that gets past the outer defenses, instead of letting it weep back out. Knowing where to seal and where to leave a deliberate gap is a detail that separates a correct install from one that just looks finished.
Picking the Right Window Material for a Sunnyland Build
Material choice matters more in a salt-air, high-moisture climate than it does in most of the country. There's no single right answer for every project — it depends on budget, exposure, and how the rest of the home is built — but here's how the common options compare for new-construction use in this area.
| Frame Material | Moisture & Salt-Air Tolerance | Maintenance | Typical Fit |
|---|---|---|---|
| Vinyl | Good — won't corrode or rot; seams and welds are the weak point if fabrication quality is inconsistent | Low — no painting or sealing needed | Budget-conscious new builds and additions |
| Fiberglass | Very good — dimensionally stable, resists warping in temperature and moisture swings | Low | Mid-to-upper budget builds, larger openings |
| Wood-clad | Depends entirely on the cladding and how well the exterior face is protected from driving rain | Higher — interior wood finish and exterior cladding need periodic attention | Homes prioritizing a wood interior look, with roof overhangs or covered exposures |
For projects with real bay-facing exposure or minimal roof overhang protecting the wall, we generally steer clients away from painted or bare wood exteriors — not because wood windows are a bad product, but because sustained wind-driven rain and salt air are hard on any painted wood surface that isn't sheltered, and the maintenance burden shows up fast. That's a trade-off worth discussing at the estimate, not a rule we apply blindly.
New Construction vs. Replacement — Why It Matters for Additions and Rebuilds
Sunnyland is an established Bellingham neighborhood with a mix of older homes and newer infill and additions, so this distinction comes up constantly on our estimates. If you're adding a room, converting a garage, or building new, you're getting a new-construction window with a nailing fin, installed into fresh framing with full flashing integration — the scenario this whole page is about. If you're swapping an existing window in an older Sunnyland home without touching the surrounding wall or siding, that's a replacement install using a different technique built around the existing frame and cladding.
Mixing these up on a bid leads to real problems: a replacement-style window ordered for a new-construction opening won't have the fin needed for proper flashing integration, and a new-construction window forced into an existing opening without removing surrounding siding can leave gaps that no amount of sealant fixes correctly. We confirm which scenario applies before ordering anything.
Our Process, From Rough Opening to Final Trim
Working With Your Builder or GC
On new-construction and addition projects, we're one trade in a sequence — framing has to be complete and square, and siding can't start until our flashing and window install is done and inspected. We coordinate directly with the builder or general contractor on timing, confirm rough opening sizes against ordered window dimensions before anything ships, and flag framing issues (out-of-square openings, missing headers) before they become install-day surprises.
Timing With Siding, Trim, and Weather
We try to minimize how long a wall sits open to weather between framing and siding — every day an opening sits exposed in Whatcom County's wet months is a day it can take on moisture it shouldn't. Where the schedule allows, we time window installs to move quickly into siding closure, and we don't install in conditions that compromise sealant cure or flashing lap integrity, even if that means asking to shift the schedule a day.
Cost Factors on New-Construction Window Projects
Every project prices differently, but the variables that move the number are consistent. As a rough starting point, installed new-construction windows in this area typically run somewhere in the low hundreds to over a thousand dollars per opening depending on the factors below — a real number only comes from measuring your actual openings and specs.
| Factor | Why It Affects Cost |
|---|---|
| Window size and count | Larger openings and higher window counts scale materials and labor directly |
| Frame material | Vinyl, fiberglass, and wood-clad carry different unit costs and lead times |
| Glazing package | Higher-performance glass (better U-factor, added coatings) costs more but reduces long-term energy loss |
| Story height and access | Second-story and hard-to-access openings add labor and equipment time |
| Flashing complexity | Openings near rooflines, decks, or wall transitions need more detailed flashing work |
Why Hire a Crew That Already Works in Sunnyland
New-construction window flashing is inspected once, then buried behind siding for the life of the house. A crew unfamiliar with Bellingham's permitting expectations, or with how hard this specific climate is on a rushed detail, can hand you a job that looks perfect at final walkthrough and starts failing quietly in three to five years. A crew that already works this neighborhood knows the City of Bellingham's inspection process, has working relationships with the framers and GCs building here, and has already seen which flashing shortcuts actually cause callbacks in a bay-adjacent, high-rainfall climate — because we've been the ones called back to fix them.
A few questions worth asking any contractor bidding your new-construction window package:
- Do you install a sloped, back-dammed sill pan on every opening, or only when asked?
- How do you sequence housewrap laps at the head flashing specifically?
- Where do you leave sealant gaps for weep drainage, and where do you seal solid?
- Have you coordinated directly with builders on Sunnyland or nearby Bellingham projects before?
- What's your plan if a rough opening comes in out of square?
If a contractor can't answer these specifically, it's worth asking why before they're behind your siding.
If you're planning an addition, ADU, or new build in Sunnyland and want windows installed to hold up against this climate rather than just pass a quick inspection, we're happy to walk the project with you and put together a free, no-pressure estimate — just fill out the form below.