 Bellingham Exterior
 Building New in Birch Bay? The Window Install Has to Match the Site
New-construction windows are a different job than replacing an old unit in an existing wall. There's no old frame to work around, no compromises for what's already there — the window gets installed into a rough opening before siding, house wrap, and trim go on, using a nailing flange set directly to the sheathing. Done right, that's the strongest, most weathertight way to get a window into a wall. Done wrong, it's the single most common source of water intrusion in new homes, because every mistake gets buried behind siding before anyone notices.
Birch Bay sits right on the water in Whatcom County, and that location changes what "done right" means. Homes here take on salt-laden air off the bay, wind-driven rain that hits walls sideways instead of straight down, and a moss and mildew season that runs long into what other parts of the county would call dry months. A window install that works fine inland doesn't automatically hold up a few blocks from the water. We install new-construction windows for builders and homeowners around Birch Bay with that exposure in mind from the first opening we frame.
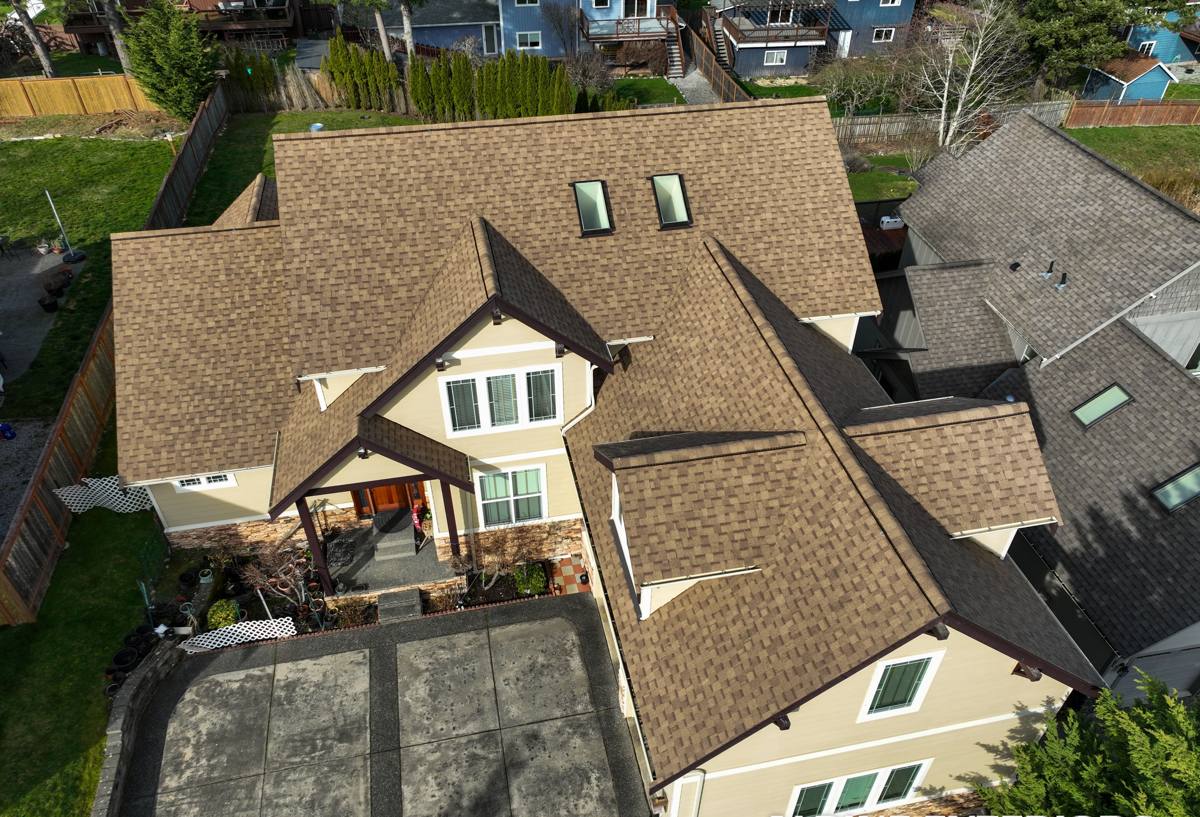
What the Birch Bay Climate Actually Does to a New Window Install
Salt Air and Wind-Driven Rain
Salt air accelerates corrosion on fasteners, flashing tape adhesives, and cheaper window hardware. Combine that with wind-driven rain — common on this stretch of the Salish Sea — and you get water pushed sideways and upward into gaps that would stay dry in a calmer, drier location. A nailing flange installed with the wrong flashing sequence, or fasteners that aren't rated for coastal exposure, can start failing years before they would inland.
Moss, Moisture, and a Long Damp Season
Bellingham and the surrounding coastline get a long stretch of the year where surfaces stay damp and moss gets a foothold on anything that holds moisture — including window sills, trim, and the flashing details around a rough opening if they're not sloped and sealed correctly. A new-construction install that traps moisture instead of shedding it sets up mold and rot risk inside the wall cavity long before it shows on the surface.
What This Means for Material and Method Choices
- Fasteners and flashing rated for coastal/marine-adjacent exposure, not standard interior-grade hardware
- A sill pan that actually slopes water back out of the opening, not a flat surface that lets it pool
- Flashing tape with an adhesive proven to hold through Whatcom County's temperature swings and humidity, not just at installation
- Weep paths kept clear so any water that does get past the exterior has somewhere to go
What a Correct New-Construction Window Install Involves
The window itself is only part of the job. The flashing and sequencing around it is what actually keeps water out for the next few decades. A correct install, in order, looks like this:
- Rough opening checked for square, level, and correct sizing before the window ever shows up on site
- Sill pan flashing installed and sloped to drain outward, not just laid flat across the sill
- Window set into the opening, shimmed level and plumb, and fastened through the nailing flange per the manufacturer's schedule
- Flashing tape applied in the correct shingle-lap order — sides first, then head — so water is always directed out and down, never trapped behind a lap that runs the wrong way
- House wrap integrated over the flashing at the top and sides, maintaining the same drainage plane the rest of the wall relies on
- Interior and exterior sealed and insulated at the gap between frame and rough opening, without over-packing it in a way that bows the frame
Skip or rush any one of those steps and the window can look perfect from the outside while quietly letting water into the wall assembly. That's the part homeowners can't inspect themselves once siding goes up — which is exactly why the crew doing it matters more than the window brand on the label.
Why a Crew That Already Works Birch Bay Matters
Flashing details that are correct in a drier, more sheltered part of Whatcom County aren't always enough on a lot exposed to open water and prevailing wind. A crew that's installed windows on inland new builds and on waterfront lots in Birch Bay knows the difference — where to upgrade flashing tape, where a standard sill pan needs a second line of defense, and which orientations on a lot take the worst of the driving rain and need extra attention at the jambs.
That local pattern recognition doesn't come from a manufacturer's install manual. It comes from having done the work in this specific stretch of coastline, seen what holds up, and adjusted the sequence accordingly. We install and coordinate with builders throughout the Bellingham area, including Birch Bay, and that means every crew member on your job has already dealt with the salt air and wind-driven rain this location produces.
Working With Your Builder or GC
Most new-construction window work happens on a schedule set by a general contractor, and we're used to fitting into that sequence — showing up after the rough opening is framed and sheathed, working ahead of siding and trim crews, and coordinating so the window install doesn't hold up the rest of the build. If you're the homeowner working directly with an architect or builder on a Birch Bay project, we're glad to coordinate directly with your GC on timing, product selection, and flashing details so everyone on the job is working from the same plan.
If you're a builder looking for a window subcontractor who won't need hand-holding on flashing sequence or coastal detailing, that's the role we fill. We show up with the right materials for the exposure, follow manufacturer flashing instructions to the letter, and flag anything about a specific opening or elevation that needs a non-standard approach before it becomes a problem.
Choosing Windows for a Birch Bay Build
New construction gives you a real choice of frame material and glazing package, since you're not constrained by an existing opening. For a waterfront or near-waterfront lot, that choice is worth thinking through rather than defaulting to whatever's cheapest per unit.
| Frame Material | How It Handles This Climate | Trade-Offs |
|---|---|---|
| Vinyl | Good moisture resistance, no corrosion risk, reasonable cost | Can look and perform inconsistently across manufacturers — we're selective about which lines we install |
| Fiberglass | Very stable in temperature swings and humidity, strong long-term coastal performance | Higher upfront cost than vinyl |
| Wood-clad | Exterior cladding protects the wood, strong appearance for higher-end builds | Requires more attention to sealant maintenance in a salt-air, high-moisture setting |
| Aluminum | Strong and slim sightlines | Poor thermal performance and higher corrosion exposure near salt air unless properly finished — we're cautious recommending it this close to the water |
Glazing matters as much as frame material here. Dual-pane, low-E glass is the baseline we'd recommend for any Birch Bay new build; the marine layer and coastal humidity make the extra thermal and condensation control worth it over the life of the house, not just for the energy bill.
What This Typically Costs
New-construction window pricing depends on unit count, size, frame material, and glazing package — there's no single number that applies to every build. As a broad range, expect the window units themselves plus professional installation to run from the low thousands for a handful of standard-size openings to well into five figures for a larger custom home with premium fiberglass or wood-clad units and larger glass. We'll give you a real number once we know your opening count, sizes, and product tier — not a rough guess pulled from a different project.
A Simple Checklist If You're Vetting Contractors for This Work
- Do they install a sloped sill pan on every opening, not just a flat sheet of flashing?
- Can they explain their flashing tape lap sequence without hesitating?
- Do they use fasteners and flashing products rated for coastal or marine-adjacent exposure?
- Have they worked on builds in Birch Bay or similarly exposed parts of the Bellingham coastline before?
- Will they coordinate directly with your GC or architect on timing and product selection?
- Do they stand behind the installation itself, separate from the manufacturer's product warranty?
Timing and Coordination on a New Build
Window installation on new construction has to happen at the right point in the schedule — after the rough openings are framed and sheathed, before siding and exterior trim close everything up. Get the timing wrong and you either delay the whole exterior schedule or you're forced to rush the flashing details to keep pace, which is exactly when mistakes get buried behind siding. We work with builders' schedules across the Bellingham area to hit that window correctly, including on lots where weather off Birch Bay makes outdoor work days harder to predict.
Get a Free Estimate
If you're framing up a new build in or around Birch Bay and need a window installer who already understands this coastline, we're happy to take a look at your plans and rough openings. Fill out the form below for a free, no-pressure estimate — we'll talk through frame options, glazing, and flashing detail for your specific lot and give you a straight answer on cost and timeline.