 Bellingham Exterior
 Why Birch Bay Siding Takes More Than a Standard Install
Birch Bay sits right on the water, and that changes what a home's exterior has to deal with day to day. Homes here face salt-laden air coming off the bay, wind-driven rain that hits siding at an angle instead of just running down it, and a long stretch of the year — fall through spring — where surfaces rarely get a chance to fully dry out. That combination is harder on siding than what you'll find on a home a few miles inland in Bellingham proper. Salt air accelerates corrosion on fasteners and metal trim. Wind-driven rain finds gaps that a calmer climate would never expose. And the shade, humidity, and moisture that collect on north- and west-facing walls give moss and algae a long runway to take hold.
None of this means Birch Bay homes need something exotic. It means the installation has to be done correctly, with the right product and the right detailing, because this location doesn't forgive shortcuts the way a drier, more sheltered site might.
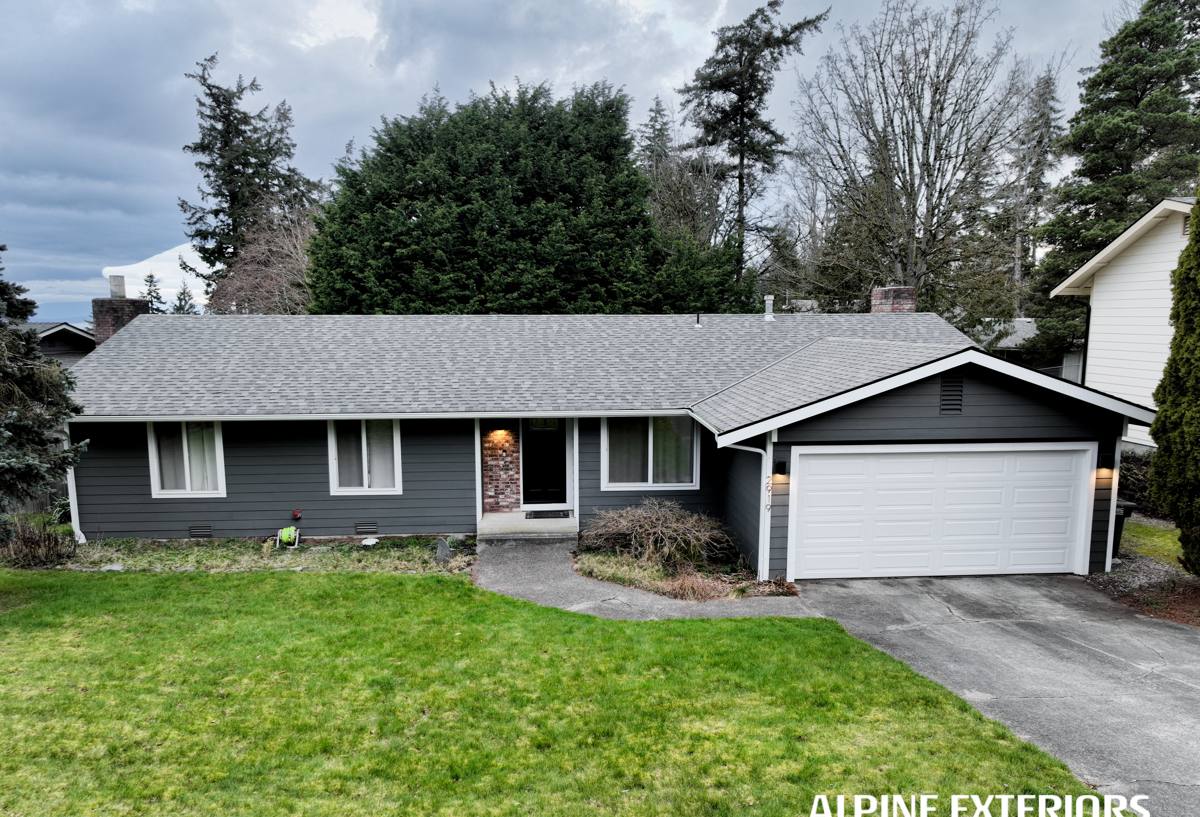
What Birch Bay's Climate Actually Does to Siding
Salt Air and Corrosion
Airborne salt from the bay settles on exterior surfaces and accelerates corrosion of exposed metal — fasteners, flashing, and trim. Over years, this can lead to streaking, rust bleed-through on lighter-colored siding, and premature failure of hardware that wasn't rated for a marine-influenced environment.
Driving Rain
Open exposure off the water means rain often arrives horizontally, not straight down. Siding systems designed for calmer inland conditions can rely on gravity to shed water; on a Birch Bay elevation, water gets pushed sideways and upward into seams, laps, and penetrations that a standard install might not seal as aggressively.
Moss and Algae Season
Whatcom County's wet season runs long, and shaded or north-facing walls near the bay stay damp for extended stretches. That moisture supports moss and algae growth on porous or textured surfaces, which stains the finish and, if left unaddressed, can trap moisture against the substrate underneath.
What Correct Siding Installation Looks Like in This Environment
A proper install isn't just nailing panels to a wall. In a coastal, high-moisture setting like Birch Bay, the details below are what separate a siding job that holds up for decades from one that starts showing problems in five years.
- A continuous weather-resistive barrier installed shingle-style so every layer sheds water downward and outward, with no reverse laps
- Proper flashing at every window, door, and roof-to-wall transition, sized and lapped to handle wind-driven rain, not just vertical runoff
- A drainage gap or rainscreen approach behind the siding so any moisture that does get past the cladding has a path to drain and dry instead of sitting against the sheathing
- Corrosion-resistant fasteners appropriate for a marine-influenced climate, driven to manufacturer spec — not overdriven, which cracks fiber cement and voids warranty coverage
- Correct minimum clearances from grade, roofing, and decks so splash-back and standing moisture don't sit against the bottom courses
- Factory-finished panels with sealed, factory-primed cut edges wherever field cuts are unavoidable
Skip any one of these and the siding itself can still look fine while the wall assembly behind it slowly takes on damage. That's the failure mode we see most often on older coastal homes — the problem isn't visible until it's expensive.
Why We Only Install James Hardie Fiber Cement Here
We've standardized on James Hardie siding for every home we side, and in a location like Birch Bay the reasoning is even more direct. Hardie's HZ product lines are engineered for specific climate zones, including the wetter, more moisture-exposed conditions common to the Pacific Northwest coast. That matters because a siding product built for a dry, low-humidity region behaves differently — and fails differently — than one engineered for sustained moisture exposure.
Fiber cement itself doesn't absorb and swell with moisture the way wood-based products can, and it won't warp or soften from repeated wetting the way some engineered wood siding does under long-term damp exposure. It's non-combustible, which is a genuine plus anywhere but especially valued by homeowners who've watched wildfire risk become a bigger conversation across Washington in recent years. The ColorPlus factory finish is baked on under controlled conditions, which gives it better resistance to fading and moisture intrusion at the finish layer than field-applied paint — a real advantage in an environment where salt air and UV both work against exterior coatings. And Hardie backs the product with a strong, transferable limited warranty, which matters to homeowners who plan to sell a waterfront or near-water property down the line.
We don't install LP SmartSide, vinyl, Cemplank, Allura, primed spruce, or cedar. Each of those has legitimate uses in the right setting, but we made a professional call to standardize on one product system we trust completely and install correctly every time, rather than stock a menu of options with different failure points, maintenance demands, and warranty structures. In a marine climate like Birch Bay's, that consistency is worth more than flexibility.
Our Installation Process
- On-site assessment — we walk the home, check current siding condition, look for existing moisture damage at trim, corners, and penetrations, and evaluate exposure to prevailing wind and rain direction
- Removal and sheathing inspection — old siding comes off and we inspect the sheathing underneath for rot or water damage before anything new goes up; any compromised sheathing gets repaired, not covered over
- Weather barrier and flashing — a continuous, correctly lapped weather-resistive barrier goes on, with flashing detailed at every opening and transition
- Hardie panel installation — installed to manufacturer spec for fastener spacing, clearances, and joint treatment, appropriate for this exposure
- Trim, caulking, and finish details — trim work and sealant applied at the joints that see the most water exposure
- Final walkthrough — we review the finished work with the homeowner and confirm everything meets spec before we consider the job done
Common Problems We See on Birch Bay Homes
Because so many homes in this area sit close to the water, we run into a fairly consistent set of issues when we're called out for an inspection or replacement estimate:
- Moss and algae staining concentrated on north- and west-facing walls that stay shaded and damp longest
- Caulk joints that have failed at trim and window transitions, letting wind-driven rain track behind the siding
- Rust streaking below fasteners or metal flashing, a direct result of salt air corrosion
- Warping or delamination on older wood-based or engineered wood siding that's had years of repeated wetting
- Soft or rotted sheathing discovered only once old siding comes off, from years of undetected moisture intrusion
Cost Factors for Siding Replacement in Birch Bay
Every home is different, and we won't quote a number without seeing the property, but these are the factors that most commonly move the price up or down on a Birch Bay job:
| Factor | Why It Matters Here |
|---|---|
| Existing siding material | Removal complexity and disposal differ between old cedar, vinyl, or engineered wood |
| Sheathing condition | Water-damaged sheathing found during tear-off requires repair before new siding can go on |
| Home size and story count | More wall area and higher elevations mean more material, labor, and staging time |
| Architectural detail | Dormers, multiple trim transitions, and cut-ins around windows add labor beyond flat wall runs |
| Site access | Waterfront lots, steep grades, or tight setbacks can limit equipment access and slow the job |
| Siding profile and finish | Lap width, texture, and color selection within the Hardie lineup affect material cost |
Maintaining Hardie Siding in a Coastal Climate
Fiber cement is low-maintenance compared to wood and engineered wood alternatives, but "low-maintenance" isn't "no-maintenance" — especially this close to the water. A simple annual routine goes a long way:
- Rinse siding with a garden hose or low-pressure wash once or twice a year to clear salt residue, pollen, and early moss growth before it takes hold
- Inspect caulk joints at trim, windows, and corners annually and have any cracked or separated sealant redone promptly
- Keep gutters clear and downspouts directed away from the foundation so runoff isn't pooling against lower siding courses
- Trim back vegetation and landscaping that holds moisture against exterior walls or blocks airflow and sun exposure
- Address any moss or algae staining early with a gentle cleaning approach rather than letting it establish and spread
Why Local Experience in Birch Bay Matters
A crew that mostly works drier, more sheltered neighborhoods can still do competent work, but they won't necessarily think about wind direction off the water, the extra attention salt air demands at fastener and flashing details, or how much longer a shaded, waterfront wall stays wet compared to a sun-exposed one a few miles inland. We work across Whatcom County, and the difference between a Bellingham hillside home and a Birch Bay waterfront property is real — it shows up in how we sequence flashing, where we pay closest attention during tear-off, and what we flag for the homeowner before we ever start.
If you're considering a siding replacement or a new install on a Birch Bay home, we're happy to come take a look, walk the property with you, and give you a straight assessment of what your home needs — no pressure, no upsell into a product we don't stand behind. Reach out for a free estimate using the form below.