 Bellingham Exterior
 Building New in Puget? Get the Window Install Right the First Time
New construction gives you one real chance to get window installation right before the walls close up and the siding goes on. In the Puget area of Bellingham, that first chance matters more than it does in drier parts of the country. Whatcom County sees long stretches of driving rain, salt-laden air off the Sound, and a moss season that seems to run most of the year. A window opening that's flashed correctly on day one will shrug all of that off for decades. One that's flashed wrong will leak quietly behind the siding until someone finds soft drywall or a musty smell, usually years later when the fix is a lot more expensive than it would have been during framing.
We install new-construction windows for builders, remodelers, and homeowners working on ground-up projects and additions in Puget and the surrounding Bellingham neighborhoods. This page covers what that work actually involves, what local conditions demand from the installation, and how we handle it.
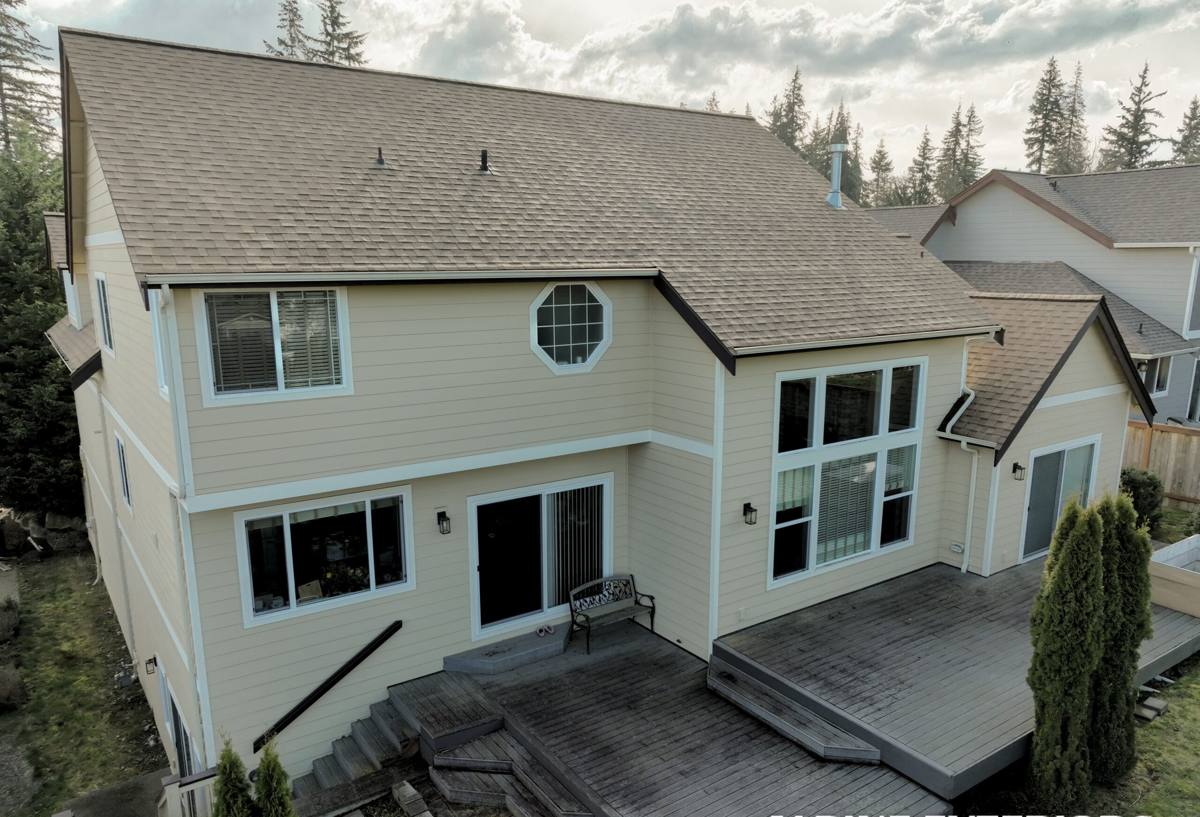
Why Puget's Climate Changes How Windows Should Be Installed
Puget sits close enough to the water and the weather patterns coming off it that window openings take on moisture from several directions at once, not just straight-down rain. That combination is why we treat window rough openings as a system, not just a hole with a frame in it.
Salt Air and Corrosion
Homes closer to the water deal with airborne salt that accelerates corrosion on fasteners, flashing tape adhesives, and window hardware that isn't rated for it. Cheap staples or the wrong flashing tape can start failing years before the window itself would.
Driving Rain
Wind-driven rain doesn't just fall on a window — it gets pushed sideways and upward into gaps that would stay dry in a calmer climate. That's a bigger deal for new construction than most people realize, because the flashing sequence around the rough opening has to account for water moving in directions gravity alone wouldn't cause.
Moss and Prolonged Dampness
A long moss season means surfaces around the home stay damp longer between dry spells. Moss and algae hold moisture against sills, trim, and siding, which is hard on any water management detail that was installed with gaps or shortcuts. Correct flashing keeps that prolonged dampness away from the sheathing and framing, where it does real damage.
What "Correct" New-Construction Window Installation Actually Involves
New-construction windows have a nailing fin that gets integrated into the wall's weather-resistive barrier (WRB) during framing — that's the whole point of using new-construction units instead of retrofit inserts. Doing that integration correctly is the entire job. Here's the sequence we follow and why each step matters:
- Rough opening prep: The opening is checked for square, level, and correct sizing before the window ever shows up. A slightly out-of-square opening now becomes a window that won't operate smoothly for the life of the house.
- Sill pan flashing: A sloped, sealed pan at the sill gives any water that does get past the window a way out instead of a place to pool. This is one of the most commonly skipped steps in framing-stage installs, and it's the one that causes the most rot when it's missing.
- Back-dam and end dams: These stop water from running sideways off the sill pan back into the wall cavity — important in a market with as much wind-driven rain as Puget gets.
- Window set and fastening: The unit is set into the pan, shimmed for square and plumb, and fastened per the manufacturer's schedule. Under- or over-driven fasteners both cause problems — one lets the window move, the other can crack the frame or compress the seal.
- Flashing tape integration with the WRB: Tape at the jambs and head is lapped correctly with the housewrap or building paper — always shingle-style, so upper layers overlap lower ones, never the reverse. This is the step where a lot of failures start: reversed laps or gaps that look fine on install day but funnel water straight into the wall over time.
- Head flashing: A drip cap or head flashing above the window sheds water away from the top of the frame rather than letting it run down the face of the wall and pool at the head jamb.
- Interior air sealing: Low-expansion foam or backer rod and sealant at the interior gap between frame and rough opening cuts drafts and keeps conditioned air from driving moisture into the wall cavity from the inside — a detail that's easy to skip and impossible to fix later without pulling trim.
New Construction vs. Retrofit — Why It Matters for This Project
If you're building new or opening walls to the studs, new-construction windows with a nailing fin are the right product — not retrofit or "pocket" replacement units, which are designed to install into an existing, intact frame without disturbing the exterior. Using the wrong category of window for the situation causes problems either way:
| Factor | New-Construction Window | Retrofit/Insert Window |
|---|---|---|
| Best used when | Framing is open, sheathing exposed | Existing frame is sound, no wall demo planned |
| Water management | Full flashing integration with WRB | Relies on sealant and existing frame condition |
| Sizing | Sized to rough opening | Sized to fit inside existing frame, slightly smaller glass area |
| Long-term performance in wet climates | Strongest, when flashed correctly | Good, but only as good as the original frame |
| Typical use here | New builds, additions, full wall reconstruction | Not typically what a new-construction project needs |
We bring this up because we occasionally get asked whether an insert window would be faster or cheaper for a new-construction opening. It isn't the right call — you'd be giving up the full flashing integration that makes new-construction installs hold up in this climate, for a product designed to solve a different problem.
Our Process for Puget New-Construction Projects
1. Plan Review and Timing
We coordinate with your builder or general contractor so window installation lands at the right point in the framing schedule — after sheathing and WRB are on, before siding starts. Timing this correctly avoids re-work and keeps the wall assembly dry during construction, which matters even more during a wet Whatcom County framing season.
2. Product Selection
We'll talk through frame material (vinyl, fiberglass, or wood-clad), glass packages, and performance ratings appropriate for a marine climate, and help you land on units that fit your budget and the home's design without over- or under-spec'ing for the exposure your specific lot gets.
3. Installation
Our crew installs to the sequence outlined above on every opening, not just the ones facing the weather. Wind and rain direction can be inconsistent, and a wall that's protected today can be exposed after nearby trees come down or a neighboring structure changes — we don't cut corners on the sheltered side of the house.
4. Documentation and Walkthrough
We walk the openings with you or your builder before siding closes them in, since that's the last point anyone will ever see the flashing work directly. After that, it's part of the wall.
Common Mistakes We See on New-Construction Openings
- No sill pan flashing, or a pan that isn't sloped to drain
- Flashing tape lapped backwards, directing water into the wall instead of away from it
- Fasteners driven through the fin at the wrong spacing or angle, cracking the frame
- Housewrap cut and taped around the window before the sill pan is in place
- Foam sealant used as the only air/water barrier at the interior, with no backer rod or proper joint prep
- Head flashing omitted because "the siding will cover it anyway"
- Using retrofit-style units on an open-frame rough opening to save time
Every one of these looks fine on the day the siding goes up. They show up later as stains, soft trim, or drafts — usually well outside any workmanship warranty if the original installer is even still around.
What to Ask Before Hiring for New-Construction Window Work in Puget
Because the flashing details get covered by siding almost immediately, homeowners and builders are trusting the installer's judgment on work that won't be visible again. That's worth being deliberate about.
- Do they install a sloped sill pan on every window, or only "as needed"?
- Can they explain their flashing lap sequence without hesitating?
- Have they installed windows in Bellingham or elsewhere in Whatcom County, where wind-driven rain and salt exposure are real factors?
- Will they walk the openings with you before siding closes them in?
- Do they carry manufacturer certification for the window lines they're installing, where that affects warranty coverage?
A crew that already works in Puget and similar coastal-influenced parts of Bellingham has usually already made — and corrected — the mistakes that show up when installers used to drier climates try to shortcut the flashing sequence. That local experience is worth asking about directly.
Timeline and Coordination
Window installation on a new-construction project typically takes a few days for a standard home, depending on window count and complexity, and needs to slot into the broader construction schedule between sheathing/WRB and siding. We work directly with your general contractor or builder to hit that window without holding up the rest of the job, and we're upfront if weather is going to push the schedule — better to wait for a dry install day than rush flashing work in the rain.
If you're planning a new build or addition in Puget or elsewhere in the Bellingham area, we're glad to walk through your plans and give you a straightforward, no-pressure estimate on the window package and installation. Use the form below to get started.