 Bellingham Exterior
 Building New in Birchwood: What the Windows Need to Handle
If you're framing a new home or an addition in the Birchwood area of Bellingham, the windows you choose and how they're installed will matter more than almost any other exterior decision you make. Whatcom County sits right up against the water, and that means salt-laden air, wind-driven rain that comes at the wall sideways instead of straight down, and a long, damp moss season that keeps north- and west-facing surfaces wet for weeks at a stretch. New construction gives you one real shot at getting the window opening built correctly before siding, trim, and interior finish cover it up. Get it right at framing and the windows will perform for decades. Get it wrong and you're looking at hidden rot, stained drywall, or a warranty claim in five to eight years once the sheathing behind the window has already started to fail.
We work new-construction jobs in and around Birchwood regularly, and the patterns repeat: homes closer to open water or exposed slopes see more direct wind-driven rain, while homes tucked under tree cover deal more with prolonged dampness and moss creeping onto sills and trim. Both conditions demand the same fundamentals — a correctly built rough opening, proper flashing sequence, and a window rated for the exposure it's actually going to see.
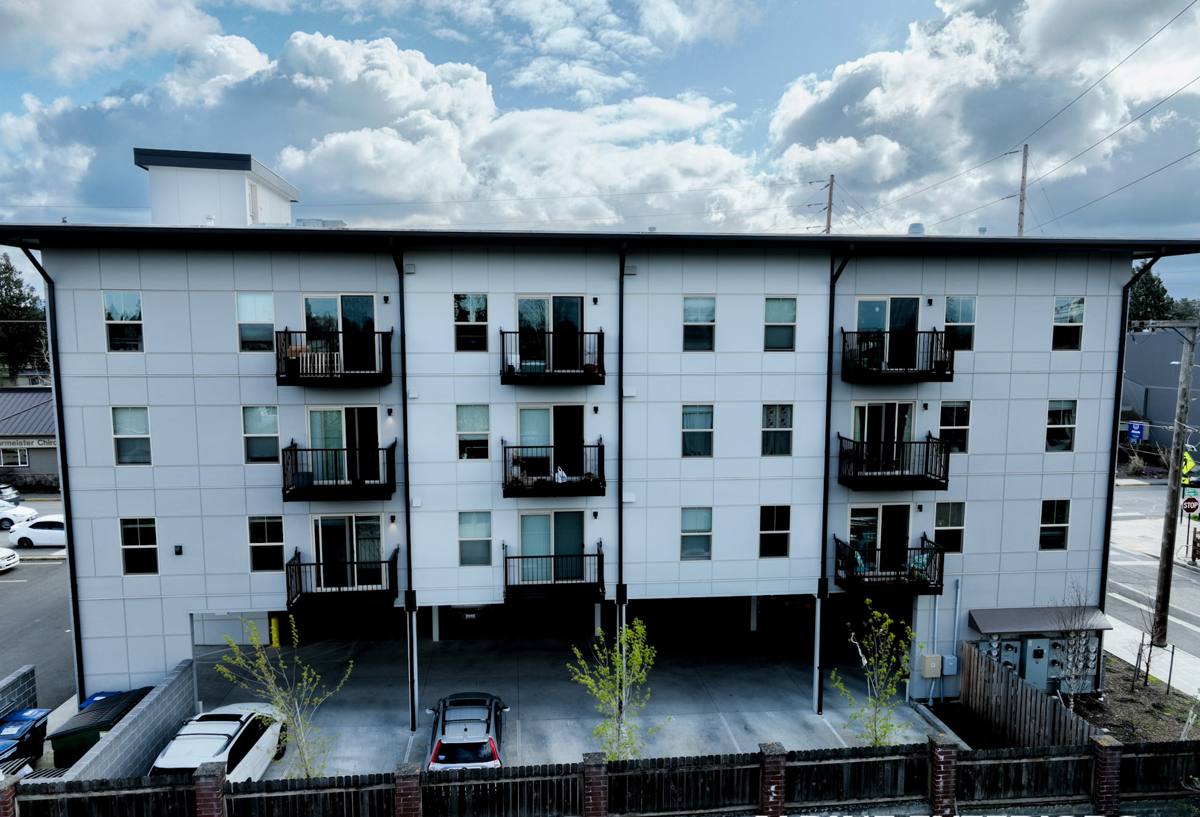
New-Construction vs. Replacement Windows — Why the Distinction Matters
New-construction windows are not the same product as replacement windows, and installing them is not the same process. A true new-construction window has a nailing fin (also called a nail flange) around the perimeter that gets fastened directly to the sheathing, then integrated into the weather-resistive barrier (WRB) and flashing system before siding goes on. This gives us full access to build a layered, shingle-style water management system around the opening — something you simply can't replicate once walls are closed up.
Replacement windows, by contrast, are built to fit into an existing opening with the old frame still partially in place, and they rely on sealant and the existing wall assembly rather than a full flashing rebuild. Trying to save money by using a replacement-style window in new framing, or skipping the flange-and-flashing sequence to save labor time, is one of the most common corner-cutting mistakes we see on spec-built and owner-built homes in this region. It almost always shows up later as moisture intrusion, because our climate doesn't forgive shortcuts in the water management detail.
What "Correct" Actually Means
A properly installed new-construction window in a wet coastal climate follows a specific order of operations. Skipping or reversing any one of these steps is what causes leaks — not usually the window itself, but the sequence around it.
- Rough opening framed square, plumb, and sized correctly with proper shim space
- Sill pan flashing installed first, sloped to drain outward, before the window ever goes in
- Window set into the opening, checked for level and square, and fastened per the manufacturer's schedule
- Side and head flashing integrated in shingle-lap order (bottom to top) over the nailing fin
- WRB (house wrap) tied back into the flashing so water sheds over each layer, never behind it
- Interior air sealing at the rough opening perimeter, separate from the exterior water barrier
- Exterior trim and sealant joints placed only where they belong — as a backup, not the primary defense
How Coastal Exposure Changes the Window Spec
Not every home in the Bellingham area needs the same window. Exposure is the deciding factor. A wall that takes direct wind-driven rain off open water or an unobstructed slope needs a higher-performing assembly than a sheltered wall under a deep roof overhang. When we walk a new-construction site in Birchwood, we're looking at orientation, roof overhang depth, tree cover, and how much of the wall is exposed to prevailing weather before we recommend a window line or glazing package.
Salt air is also a real factor this close to the water. It accelerates corrosion on hardware, fasteners, and lower-grade metal components. That doesn't mean every window needs to be a premium tier, but it does mean we pay attention to hardware finish and flashing metal compatibility so you're not dealing with streaking or corroded latches a few years in.
Frame Material Comparison for This Climate
| Frame Type | Moisture Behavior | Maintenance | Best Fit In Birchwood |
|---|---|---|---|
| Vinyl | Won't rot; can expand/contract with temperature swings | Low — occasional cleaning | Good value option for sheltered walls |
| Fiberglass | Dimensionally stable, handles wet-dry cycling well | Low | Strong choice for exposed, wind-driven-rain walls |
| Wood-clad | Interior wood needs the exterior cladding to stay fully sealed | Higher — watch cladding seams and sills | Works with disciplined flashing and roof overhangs |
| Aluminum | Conducts cold, can condensate without thermal break | Low, but corrosion risk in salt air without proper coating | Situational — best with a thermally broken frame |
Glass and Performance Ratings Worth Paying Attention To
For a new build in Whatcom County, we look at three numbers on the NFRC label rather than marketing language: U-factor (how well the window resists heat loss — lower is better in our climate), solar heat gain coefficient (how much solar heat passes through — this matters on south and west exposures), and air leakage rating. A dual-pane, low-E unit with argon fill is a reasonable baseline for most Birchwood-area new construction; triple-pane can make sense on north-facing walls or particularly exposed elevations where energy performance and condensation resistance matter more. We'll talk through what's actually worth the upgrade for your specific elevations rather than upselling a package you don't need.
Our Process on a New-Construction Job
We build our schedule around your framing timeline, not the other way around, since window installation on new construction has to land at a specific point in the build sequence — after sheathing and WRB are on, before siding starts.
- Plan review and site walk — we look at the actual rough openings and elevations, not just the plan set, since framing tolerances vary
- Window selection — matched to each elevation's exposure, not a single spec applied to the whole house
- Rough opening check — we verify square, level, and sizing before any flashing goes on, and flag framing issues to your builder before they become window problems
- Sill pan and flashing installation — done in proper shingle-lap sequence, tied into the WRB
- Window setting and fastening — per manufacturer schedule, checked and re-checked for square
- Final flashing tie-in and inspection — walked and photographed before siding crews cover the work
That last step matters. Once siding goes on, nobody can see the flashing detail again — so we document it while it's still visible, both for your records and for warranty purposes.
Cost Factors on a New-Construction Window Job
Pricing on new-construction window packages varies with the number and size of openings, frame material, glass package, and site access, so a real number only comes from walking your plans or your framed site. In general terms, expect these to move the price:
| Factor | Effect on Cost |
|---|---|
| Frame material (vinyl vs. fiberglass vs. wood-clad) | Fiberglass and wood-clad run higher than vinyl; performance and longevity trade-offs differ by exposure |
| Glass package (dual-pane vs. triple-pane, coatings) | Upgraded glazing adds cost but can be targeted to only the elevations that need it |
| Number and size of openings | Larger units and specialty shapes (arched, oversized) add labor and material cost |
| Site access and stage of construction | Coordinating around other trades on an active build site can affect scheduling and labor time |
| Flashing and detail complexity | Complex rooflines, multiple wall planes, or high exposure elevations call for more careful (and more time-intensive) flashing work |
Mistakes We Regularly See — and Correct — on Local Builds
A few problems show up often enough on Bellingham-area new construction that they're worth calling out directly. Reversed flashing lap order is the biggest one — even a single course installed shingle-style backward can funnel water directly into the wall cavity instead of shedding it. Skipping the sill pan entirely and relying on sealant alone is another, especially on owner-built or budget-driven projects; sealant is a backup layer, not a substitute for mechanical water management. We also see window selection mismatched to exposure — a builder-grade window on a wall that takes direct driving rain off the water, where a higher-performing unit was warranted. None of these are dramatic mistakes at the time of install. They're the kind that take a wet winter or two to show themselves, which is exactly why doing it right the first time matters more here than in a drier climate.
Pre-Installation Checklist for Your Birchwood Build
If you're a homeowner working with a builder, or a builder coordinating trades, this is what we check before we'll set a single window:
- Rough openings are framed to the window manufacturer's specified dimensions, with shim space accounted for
- WRB (house wrap) is installed and lapped correctly before window flashing begins
- Sill pan flashing material is compatible with both the window and the WRB (no mixed materials that react or fail to bond)
- Window schedule matches actual elevations and exposure, not just a generic spec sheet
- Fastening schedule and shim locations follow manufacturer instructions, not field habit
- Flashing and rough opening are documented (photos) before siding installation covers the work
Why a Local Birchwood Crew Is Worth Choosing
New-construction window installation is detail work, and the details that matter most in Bellingham aren't the same ones that matter in a dry inland climate. A crew that works this specific area regularly already knows how exposure changes block by block, how moss season affects timing and site conditions, and how driving rain off the water behaves against a wall that isn't protected by mature tree cover. That local pattern recognition is what keeps a flashing detail from becoming a callback two winters later. It's also easier to stand behind our own work when we're the ones who built the rough opening detail from the start, rather than being called in to diagnose a leak in someone else's install.
If you're framing a new home or addition in the Birchwood area and want windows installed correctly the first time, we're happy to walk your plans or your framed site and put together a straightforward, no-pressure estimate — just fill out the form below.