 Bellingham Exterior
 Siding Repair in the Columbia Neighborhood
Columbia is one of Bellingham's older, established neighborhoods, and that means a lot of the homes here are carrying siding that's been through decades of Whatcom County weather. Whether your house is clad in aging cedar, vinyl, an older fiber cement product, or something a previous owner patched together over the years, siding repair in this part of town has a specific set of problems to solve. Salt-tinged air drifting in off Bellingham Bay, driving rain that comes in sideways during winter storms, and a moss season that can stretch from October through May all combine to wear siding down faster than homeowners expect.
We work on homes throughout Bellingham and Whatcom County, and Columbia comes up regularly in our service calls — often because a homeowner noticed a soft spot near a downspout, a paint film that's started bubbling, or moss creeping up from the ground line and wants an honest opinion before it turns into a bigger problem.
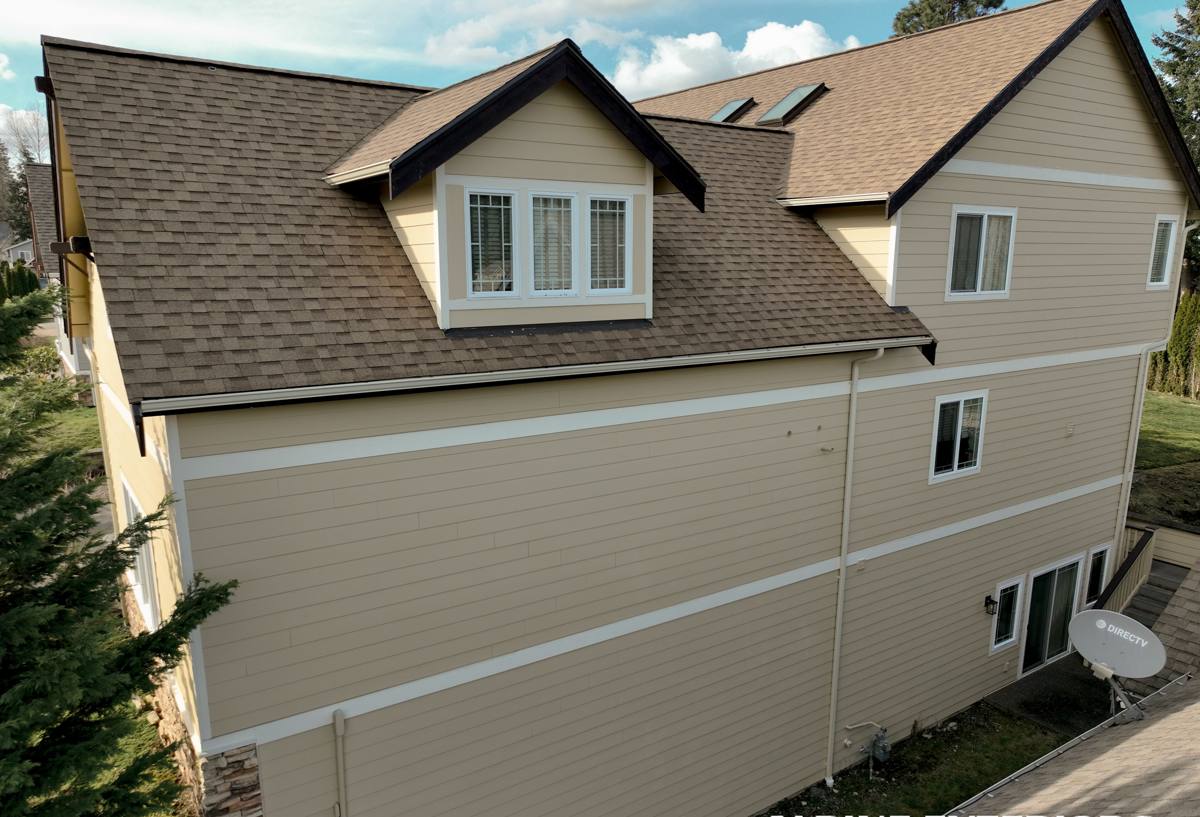
Why Columbia Homes Take a Beating
Bellingham's marine climate is generally mild, but mild doesn't mean gentle on building materials. A few things stack up against siding here specifically:
- Salt air corrosion: Proximity to the bay means airborne salt settles on exterior surfaces, accelerating the breakdown of fasteners, caulk, and paint films over time.
- Driving rain exposure: Winter storms in this region rarely fall straight down — wind-driven rain gets pushed into laps, seams, and trim joints where it can find its way behind the cladding if the original installation wasn't detailed carefully.
- Extended moss season: Shaded lots, mature trees, and persistent damp conditions give moss and algae a long window to establish themselves on siding, trim, and fascia boards.
- Age of housing stock: Many Columbia homes were built well before today's water-management standards were common practice, so original flashing details and house wrap may already be underperforming by modern expectations.
None of this is unique to Columbia, but the combination — older homes, tree cover, and bay-adjacent air — makes this neighborhood a place where we see repair needs surface earlier than in some of the newer subdivisions elsewhere in Whatcom County.
What "Correct" Siding Repair Actually Involves
A lot of siding repair gets done as a quick patch: cut out the bad board, nail in a new piece, caulk the edges, paint over it. That approach can look fine for a season or two, but it rarely addresses why the damage happened in the first place. Our process treats every repair as a diagnostic job first and a cosmetic job second.
Step 1: Find the Actual Source of Moisture
Visible damage — a stained board, a soft spot, peeling paint — is almost always a symptom, not the root cause. Before we touch a piece of siding, we look at what's feeding the problem: a gutter that overflows in heavy rain, a downspout dumping water at the base of a wall, a missing kick-out flashing above a roof line, or a caulk joint that failed years ago and let water track behind the cladding.
Step 2: Open It Up and Check the Sheathing
Once siding is removed in the affected area, we check the house wrap or building paper and the wall sheathing underneath. If water has been getting behind the siding for a while, the sheathing itself may be soft or delaminating, and no amount of new siding on the surface fixes that. Rot has to be cut out and the structural wall repaired before anything new goes back on.
Step 3: Correct the Water Management Detail
This is the step that separates a real repair from a cosmetic patch. That means proper flashing at penetrations, correct lapping at horizontal joints, drainage gaps where needed, and sealant used only where it belongs — not as a substitute for good flashing.
Step 4: Reinstall to Spec
New cladding goes back on with correct fastener placement, proper clearances from grade and roof lines, and factory-matched finish where possible so the repair doesn't stand out as an obvious patch job.
Matching Repairs on Existing Siding
One of the more common questions we get on repair calls is whether a patched section will match the rest of the house. The honest answer depends heavily on what's currently installed:
| Existing Siding | Repair Challenge |
|---|---|
| Cedar | Weathering and grain variation make exact color matching difficult; patches often need refinishing of a larger section to blend |
| Vinyl | Older vinyl fades and discontinued profiles/colors can be hard to source, sometimes forcing a wider replacement than the damaged area alone |
| Older fiber cement | Factory finishes from years back may not be available anymore, and field-painted patches can weather differently over time |
| James Hardie ColorPlus | Current color-matched planks and trim are available new, giving the cleanest match for spot repairs |
This is a big part of why we tell homeowners up front when a "repair" is really a temporary fix versus when it will genuinely last and blend well. Sometimes the right answer is a targeted repair. Sometimes, especially when damage is spread across multiple elevations or the underlying material is past its useful life, a full re-side is the more honest recommendation.
Why We Only Install James Hardie
When siding repair does turn into a broader replacement conversation, our answer is always the same product: James Hardie fiber cement. We don't install LP SmartSide, vinyl, Cemplank, Allura, primed spruce, or cedar, and that's a deliberate decision, not an oversight.
Each of those alternatives has real strengths — cedar has a look many homeowners love, vinyl is inexpensive up front, engineered wood products install quickly. But in a climate like Bellingham's, with salt air, sustained damp seasons, and driving rain, we've seen the trade-offs that come with each: wood products that need consistent refinishing to hold up, vinyl that can warp or fade and offers limited moisture protection at seams, and engineered wood that depends heavily on flawless installation and maintenance to avoid moisture-related failures.
James Hardie fiber cement is non-combustible, holds its factory-applied ColorPlus finish far longer than field-applied paint, and its HZ5 product line is engineered for exactly this kind of marine, high-moisture climate. It comes with a strong transferable warranty, and when it's installed correctly — proper clearances, correct fastening, real flashing details — it holds up to the specific punishment Columbia's location near the bay dishes out. That's why, when a repair conversation turns into a replacement conversation, Hardie is what goes back on the wall.
Signs You Should Have Your Siding Looked At
- Soft or spongy areas when you press on the siding, especially near the ground line or under windows
- Paint that's bubbling, peeling, or alligatoring in patches rather than evenly across the wall
- Persistent moss or dark streaking that keeps returning after cleaning
- Visible gaps, cracked caulk, or separated joints at corners and trim
- Interior signs like musty smells or discoloration on walls that share an exterior wall with damaged siding
- Warping, cupping, or buckling boards, particularly on the side of the house facing prevailing weather
Any one of these on its own might be minor. Several showing up together, especially on the same wall, usually means water has been getting behind the cladding for a while.
What to Expect From Our Repair Process
We keep the process straightforward because homeowners deserve to know what they're paying for before work starts:
- On-site assessment: We walk the exterior, identify problem areas, and check for underlying moisture sources — not just the visible damage.
- Written scope and estimate: You get a clear explanation of what needs to happen, why, and what it costs, before any siding comes off the wall.
- Repair or replace recommendation: If a targeted repair genuinely solves the problem, we say so. If the damage or material age points to a fuller replacement, we explain why and let you decide.
- Correct rebuild: Proper flashing, correct fastening, and matched or upgraded materials — not a quick patch that fails again in two years.
- Cleanup and walkthrough: We review the completed work with you before we consider the job done.
Cost Factors for Siding Repair
| Factor | Why It Matters |
|---|---|
| Extent of moisture intrusion | Repairs that reach hidden sheathing rot cost more than surface-level patches, but skipping this step just delays a bigger repair |
| Existing siding material | Sourcing matched materials for older or discontinued products can add cost and time compared to repairing newer, currently-available lines |
| Access and wall height | Second-story or hard-to-access sections require additional staging or equipment |
| Flashing and trim work needed | Correcting the water-management detail, not just the cladding, is often the difference between a lasting fix and a repeat call |
| Scope: spot repair vs. elevation replacement | Damage spread across a whole wall section is often more cost-effective to replace outright than to patch piecemeal |
Why Hire a Crew That Already Works in Columbia
Neighborhood familiarity matters more in siding work than people expect. Crews who regularly work Columbia and the surrounding Bellingham neighborhoods already understand how the bay's salt air, the area's tree cover, and Whatcom County's rain patterns tend to show up on these specific homes — where moss tends to establish first, which elevations take the worst of the driving rain, and what original construction details from this era of housing stock commonly need correcting. That local pattern recognition means less guesswork, a more accurate first assessment, and a repair that actually accounts for the conditions your house faces year after year, not a generic fix pulled from a different climate.
If you've noticed soft spots, persistent moss, or paint failure on your Columbia-area home, we're happy to take a look and give you a straight answer about what's going on — no pressure, no upsell, just an honest assessment and a free estimate.