 Bellingham Exterior
 New-Construction Windows for Blaine Homes
New-construction windows are a different job from a replacement window, even though homeowners sometimes use the terms loosely. A new-construction window has a nailing fin around the frame that gets integrated directly into the wall's weather-resistive barrier before siding goes on, which means the window and the wall's water management become one connected system. That's the right approach for new builds, additions, and any project where the wall is open down to the sheathing. In Blaine, sitting right on the water near the Canadian border in Whatcom County, that fin and flashing detail carries more weight than it would somewhere drier — the combination of salt air, wind-driven rain off the water, and a moss season that runs most of the year on shaded and north-facing walls means a window opening with a weak flashing plan will find that out within a few wet seasons, not decades.
We install new-construction windows across Blaine and the rest of Bellingham with the flashing sequence built around what this specific stretch of coastline does to a wall assembly over time, not around a generic install guide written for a drier climate.
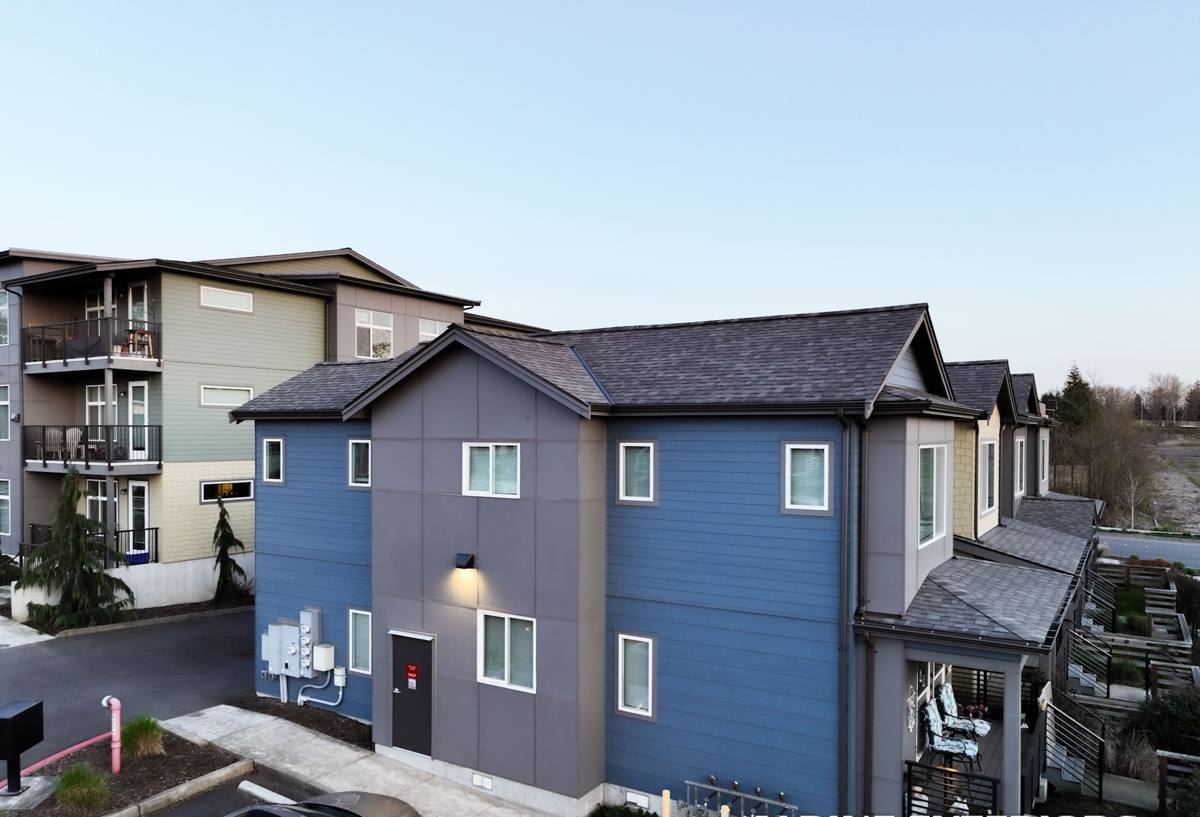
What Blaine's Climate Asks of a New-Construction Window Opening
Wind-Driven Rain at the Sill and Fin
Blaine's exposure to open water means rain rarely arrives straight down — wind pushes it sideways and up under trim, sills, and fins that weren't lapped in the right order. A new-construction window's entire water-tightness depends on the fin being taped and flashed so that every layer sheds onto the layer below it, sill to head, with no reverse laps. Get that sequence backward anywhere on the opening and wind-driven rain will find it.
Salt Air and Hardware, Fasteners, and Frame Materials
The steady salt exposure common to homes near the water in Blaine is hard on unprotected metal — fasteners, hinges, and cranks corrode faster here than they would further inland. That pushes the fastener spec and hardware finish choices on a new-construction window install higher up the priority list than they'd be on a job away from the coast.
Moss, Shade, and Slow-Drying Sill Pans
Tree cover and shaded elevations, common on Blaine lots, keep wall surfaces damp longer after a rain than a sun-exposed wall would stay. A sill pan or flashing detail that traps water instead of shedding it becomes the thing moss and mildew take hold on first, and that dampness works its way into the rough opening and the framing around it if it isn't given a way out.
Why the Flashing Sequence Matters More Than the Window Brand
A quality new-construction window can still leak if it's installed into a poorly flashed rough opening, and a mid-grade window installed with a correct flashing sequence will usually outperform a premium window installed carelessly. That's a hard truth homeowners don't always hear from a salesperson focused on moving a particular product line. We treat flashing sequence, sill pan drainage, and fin integration with the weather-resistive barrier as the part of the job that determines whether the window performs for thirty years or starts showing staining and soft trim in five.
| Install Element | What It Does | Consequence If Skipped or Rushed |
|---|---|---|
| Sill pan flashing | Catches and directs any water that gets past the window to the exterior instead of into the framing | Hidden rot at the sill, often not visible until framing is already damaged |
| Correctly lapped fin tape | Sheds water down and out at every layer, head to sill | Reverse laps let wind-driven rain track behind the barrier |
| Backer rod and sealant at the frame | Manages air and water at the interior/exterior transition without over-sealing | Over-sealed joints trap moisture; under-sealed joints let air and water through |
| Corrosion-resistant fasteners | Holds the fin and frame securely through decades of salt exposure | Fastener corrosion loosens the fin seal over time |
What a Correct New-Construction Window Install Involves
The visible result of a new-construction window install is simple — a window sitting square and level in the wall — but a correct install has a specific sequence behind that surface:
- Rough opening checked for square, level, and correct sizing before the window ever goes in
- Sill pan flashing installed and sloped to drain to the exterior, not flat or reverse-sloped
- Weather-resistive barrier cut and prepped so the window integrates into it rather than sitting on top of an interruption in the barrier
- Window set, shimmed plumb and square, and fastened through the nailing fin at the manufacturer's specified pattern
- Fin taped and flashed in the correct shingle-lap order — jambs before head, head lapping over the jamb tape, never the reverse
- Interior and exterior sealed appropriately, with backer rod used where the joint is too wide for sealant alone
- Rough opening and finished install checked for water and air leaks before trim and siding close it in
Skip or rush any one of these steps and the window can look correctly installed for a year or two before problems surface. Because the framing around the opening is covered by trim and siding once the job is done, a flashing mistake at this stage is usually invisible until the damage has already spread — which is exactly why getting the sequence right the first time matters more here than on almost any other part of the exterior.
Windows Best Suited to Blaine's Marine Exposure
Vinyl and fiberglass new-construction windows both hold up well against salt air and moisture when the frame and hardware are correctly specified, and both are common, sensible choices for Blaine homes. Wood-framed windows can work too, but they carry a higher maintenance burden this close to the water — the exterior cladding on a wood frame needs consistent upkeep to keep moisture from working into the frame material over time, which is a bigger ask in a climate this wet than it would be inland. We'll talk through the trade-offs for your specific project rather than pushing one product line by default.
Our Process for a Blaine New-Construction Window Project
Walkthrough and Rough Opening Review
On new builds and additions, we review rough opening sizes and framing against the window schedule before install day, catching sizing or squareness issues while they're still easy to fix rather than after windows are on site and the crew is standing in the opening.
Flashing Plan Before Install Day
We plan the flashing sequence — sill pan, jamb tape, head tape, and how it all integrates with the weather-resistive barrier — before crews start setting windows. On a coastal job like this, working that sequence out ahead of time avoids field improvisation, which is where shortcuts tend to happen.
Installation to Manufacturer and Building Code Spec
Every fin fastener, tape lap, and sill pan follows the window manufacturer's published installation instructions and current building code requirements for this climate zone. That's what keeps the manufacturer's warranty intact and what actually determines how the window performs once the wall is closed up.
Final Check Before Closing the Wall
Before siding and trim cover the opening, we check the install for square, function, and flashing integrity. Once the wall is closed in, catching a flashing mistake means opening it back up — so we make sure that check happens while it's still simple to fix.
Why Hire a Crew That Already Works Blaine
New-construction window installation rewards experience with this specific stretch of coastline in a way a generalized install guide can't fully account for. A crew that has installed windows across Blaine and the surrounding Bellingham area through multiple wet seasons already knows which orientations catch the worst of the wind-driven rain, how much of a factor salt exposure really is on fastener and hardware choices this close to the water, and where a sill pan detail earns its keep versus where it's the difference between a dry wall and a wet one. That judgment doesn't show up in a manufacturer's installation manual, and it's a meaningful part of why a window installed by a crew unfamiliar with this coastline can fail years before one installed with local conditions in mind.
Cost Factors for New-Construction Windows in This Area
New-construction window costs vary by size, product line, and how many openings are involved, but a few factors specific to a project in Blaine tend to move the number more than homeowners expect:
| Factor | Why It Matters |
|---|---|
| Window size and configuration | Larger units, casements, and multi-panel configurations cost more than standard single or double-hung sizes |
| Frame material | Vinyl, fiberglass, and wood carry different material and hardware costs |
| Number of openings | Whole-house new builds and multi-window additions have per-unit efficiencies a single window doesn't |
| Rough opening condition | Framing that's out of square or sized incorrectly needs correction before the window goes in |
| Site access and staging | Water-facing lots and limited crane or lift access can add labor time |
We'll walk your specific plans or existing rough openings and give you real numbers based on your project rather than a rough estimate off a floor plan alone.
Getting It Right the First Time
A new-construction window install is not a forgiving job to redo once siding and trim are closed in around it. Because the flashing and fin integration are covered by finish materials, correcting a bad install usually means pulling trim and siding back to reach the opening, not a simple patch. That's why we treat the flashing plan and rough opening review as seriously as the window-setting itself — the cost of getting it right before the wall closes up is a lot lower than the cost of chasing a leak after it does.
If you're planning new-construction windows for a build or addition in Blaine, we're happy to walk the project, talk through what your specific openings need given their orientation and exposure, and give you a straightforward, no-pressure estimate. There's a form below — reach out and we'll set up a time to take a look.