 Bellingham Exterior
 Why Puget's Climate Is Tougher on Siding Than It Looks
Homes in the Puget area near Bellingham deal with a specific combination of stressors that a lot of siding products simply weren't built for. Salt-laden air off the water accelerates corrosion on fasteners and trim, driving rain gets pushed sideways into wall assemblies during winter storms, and a long, damp moss season means algae and moss have months at a time to take hold on any surface that stays wet. None of these are dramatic, one-time events. They're slow, cumulative pressure that shows up on siding as premature fading, soft spots, and trim that rots from the inside out before the paint even looks bad.
That combination — salt exposure, wind-driven moisture, and extended damp periods — is exactly why siding choice and installation quality matter more here than they would in a drier inland climate. A product or install method that's marginal in Spokane can fail outright in Whatcom County.
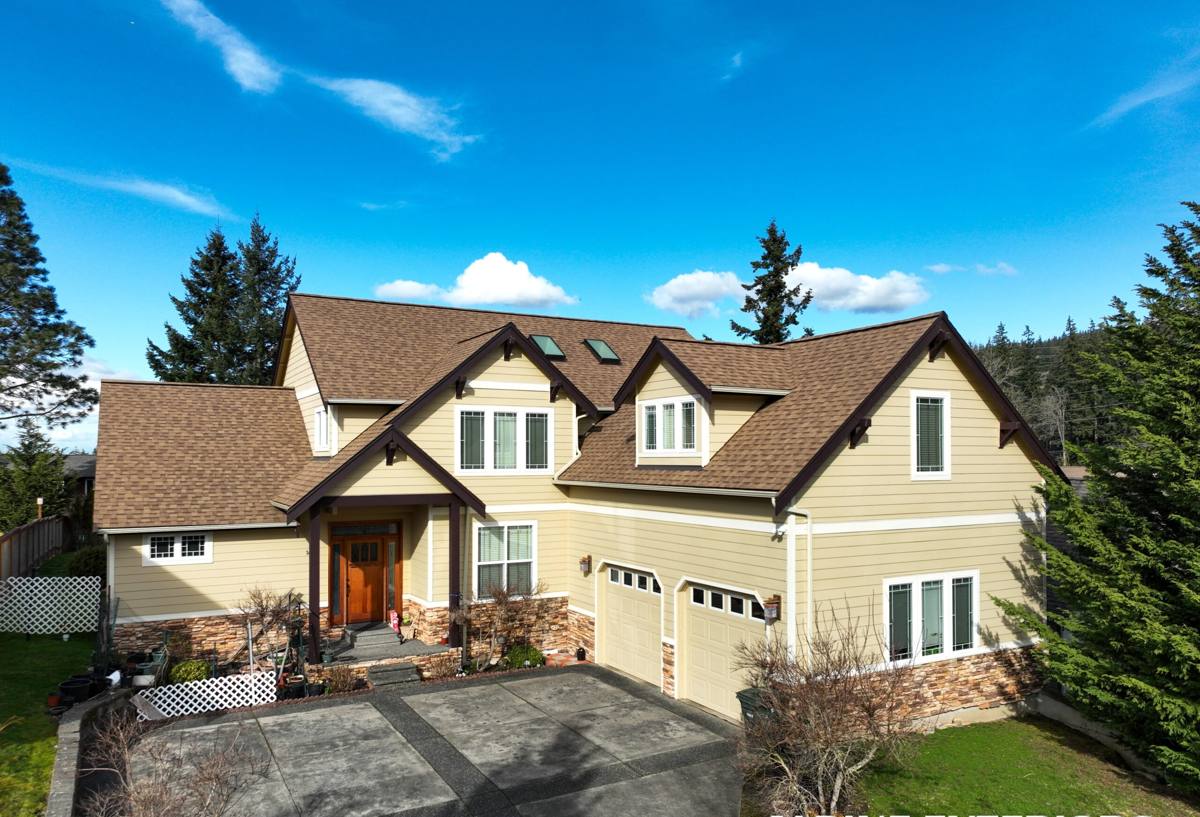
What Puget Homes Actually Need From Their Siding
Strip away the marketing and there are really four things siding needs to do well in this climate:
Shed Water, Not Just Resist It
Bellingham's rain isn't just vertical — wind off the Sound drives it sideways and up under laps and trim. Siding needs correct overlap, properly flashed penetrations, and a drainage plane behind it so any moisture that does get past the surface has somewhere to go besides the wall sheathing.
Hold Paint and Color Without Constant Upkeep
Salt air and UV both break down field-applied paint faster than inland. A factory finish that's engineered to resist fading and hold adhesion matters a lot more here than in a drier, less coastal market.
Resist Moss and Algae Without Rotting
Moss doesn't just look bad — it holds moisture against the surface for weeks at a time. Whatever's under that moss needs to be able to take that exposure without swelling, delaminating, or feeding rot.
Stay Dimensionally Stable Through Wet-Dry Cycles
Western Washington doesn't get hard freezes often, but it does get repeated wet-to-dry cycling most of the year. Materials that swell and shrink with moisture eventually work their fasteners loose and open up seams — which is exactly where water gets in next.
Why We Only Install James Hardie Siding in Puget
We install James Hardie fiber cement exclusively — not vinyl, not LP SmartSide, not cedar, not primed spruce or unbranded fiber cement. That's a deliberate standard, not a sales preference, and in a climate like this one the reasoning holds up:
- Non-combustible core — fiber cement doesn't feed a fire the way wood-based products can.
- ColorPlus factory finish — baked-on, UV-cured color that resists fading and chalking far better than field-applied paint, which matters when salt air and sun are both working against a painted surface year-round.
- Climate-engineered HZ product line — Hardie's HZ5 formulation is built for climates like ours, with freeze-thaw and moisture-cycling resistance tuned for the Pacific Northwest rather than a generic national spec.
- Moisture behavior that doesn't punish small install mistakes as harshly — fiber cement doesn't swell and delaminate the way engineered wood products can when water gets behind a panel.
- A warranty structure built around correct installation — Hardie's transferable warranty is meaningful because it assumes a spec-compliant install, which is also why installation quality matters as much as the product itself.
We're upfront that this narrows what we sell. Vinyl is cheaper upfront and low-maintenance in a different way; cedar has real appeal for homeowners who want a natural look. Those are legitimate products for someone else's standard. Ours is built around what holds up longest, with the least ongoing homeowner burden, in this specific climate — and that's fiber cement done right.
What a Correct James Hardie Install Involves
The product is only half the equation. A huge share of siding failures we see in coastal Whatcom County homes trace back to installation shortcuts, not the material itself.
Moisture Management Behind the Panel
Before a single piece of Hardie goes up, the wall needs a continuous weather-resistant barrier, properly lapped and taped, with flashing integrated at every window, door, and penetration so water sheds down and out rather than working its way inward. On homes with more direct wind-driven rain exposure, a rain screen gap behind the siding gives any incidental moisture a way to drain and dry instead of sitting against the panel.
Fastening and Clearances
Hardie specifies fastener type, spacing, and placement for a reason — get it wrong and you create stress points where panels can crack or work loose over time. Ground clearance, roofline clearance, and gaps at trim and butt joints all need to match Hardie's published install guide, not just "close enough."
Caulk-Free Joint Details Where Possible
Caulk is a maintenance item, not a permanent seal — in a wet climate, over-reliance on caulk at joints is a slow-motion failure point. Correct install detailing minimizes how much of the weatherproofing depends on caulk holding up over decades.
Installation Checklist We Hold Ourselves To
- Weather-resistant barrier installed continuous and correctly lapped before any siding goes up
- Flashing integrated at every window, door, and penetration — not just caulked over
- Manufacturer-specified clearances from grade, roofline, and decks
- Correct fastener type, spacing, and depth per Hardie's install guide
- Rain screen detailing where wind and rain exposure call for it
- Trim and joint details built to minimize caulk-dependent seals
- Final walkthrough against Hardie's published specifications before we call the job done
Our Process, Start to Finish
- Free on-site estimate — we look at your home's actual exposure (wind direction, shade, moss history, existing damage) and measure for material.
- Tear-off, not overlay — old siding comes off so we can inspect and repair sheathing, address any hidden rot, and install the weather barrier correctly from scratch.
- Water management first — barrier, flashing, and rain screen detailing go in before any visible siding.
- Hardie installation to spec — panels, trim, and fastening per manufacturer requirements, checked as we go.
- Final inspection and walkthrough — we go over the finished job with you before we consider it complete.
Cost Factors for a Puget-Area Hardie Project
Every home is different, but these are the variables that most often move the number on a James Hardie project in this area:
| Factor | Why It Matters Here |
|---|---|
| Total siding square footage and home shape | More corners, dormers, and cutouts mean more trim work and labor time |
| Condition of sheathing under old siding | Hidden moisture damage found during tear-off adds repair scope before new siding can go on |
| Stories and access | Second-story and steep-lot homes require more staging and time |
| Trim, fascia, and soffit scope | Full trim replacement alongside siding costs more but avoids mismatched old and new materials |
| Panel style and ColorPlus color selection | Lap width, shingle-style panels, and certain factory colors carry different material costs |
| Existing moss or water damage | Remediation before install adds cost but prevents sealing problems behind new siding |
Signs Your Puget Home's Siding Needs Attention
A lot of homeowners wait until siding is visibly failing, but the climate here gives you earlier warning signs if you know what to look for:
- Soft or spongy spots when you press on siding, especially near the bottom courses
- Paint that bubbles or peels back within a couple of years of repainting
- Moss or algae that comes back quickly after cleaning, rather than staying off for a season or more
- Visible gaps, warping, or separation at seams and butt joints
- Staining or dark streaks running down from window sills or trim
- Noticeably higher heating bills without another clear explanation
- Rot or soft wood at corner boards, window trim, or where siding meets the foundation
Any one of these on its own might be minor. Several together, especially on the wall that takes the most wind and rain, usually means water has already gotten past the surface.
Why a Crew That Already Works in Puget Matters
Siding installation isn't one-size-fits-all across a region. A crew that regularly works homes in and around Puget already knows which walls tend to take the worst of the wind-driven rain, how aggressive the moss growth gets on north-facing and shaded elevations, and what kind of prior repairs are common on older homes in this part of Whatcom County. That local pattern recognition shows up in small decisions — where to add extra flashing attention, which details need reinforcing beyond the bare minimum spec — that a crew unfamiliar with this specific climate might not think to prioritize.
It also means straightforward answers about permitting and scope specific to your property, rather than generic responses pulled from a national playbook.
If your Puget-area home's siding is showing its age, or you're planning ahead rather than waiting for a failure, we're happy to take a look and give you a straightforward, no-pressure estimate — no obligation, just an honest read on what your home actually needs.